Integrating HubSpot and Ownly using Zapier
Ownly can be integrated with third party CRMs to push the contacts. While we integrate directly with HubSpot, we can also connect to more than 30+ CRMs using Zapier. Below are the steps for integrating Ownly Contacts with HubSpot using Zapier.
To integrate HubSpot and Ownly with Zapier, you will first need to have a HubSpot account and a Zapier account and an Ownly Company Admin Account connected. If you are wondering how to connect Ownly, see How to connect Ownly with Zapier.
Once you have both, you can follow these steps:
Log in to your Zapier account and go to the Zapier homepage.
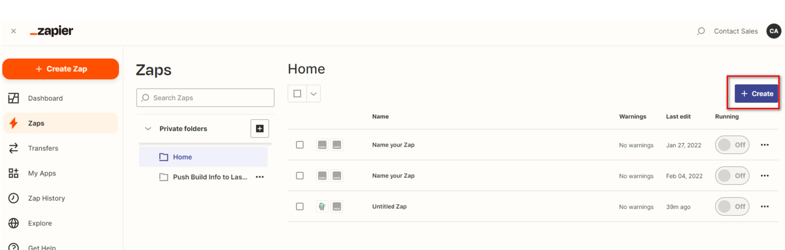
Click on the "Create" button to create a new Zap.
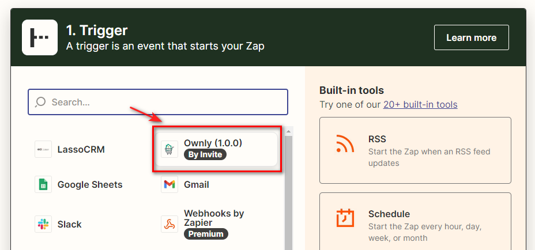
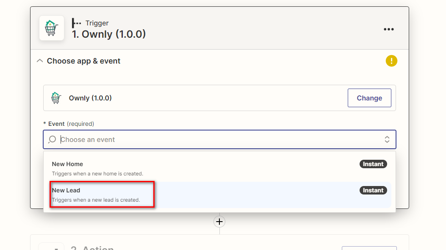
Select Ownly (1.0.0) as the "Trigger App" and choose the trigger event you want to use to start the Zap. For example, "New Lead" or "New Home."
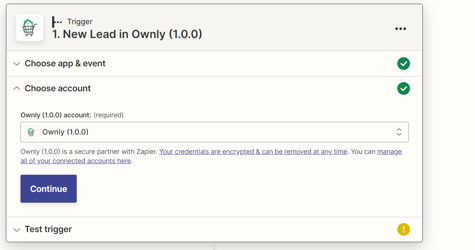
Select the Ownly account you want to use for the Zap and test the connection.
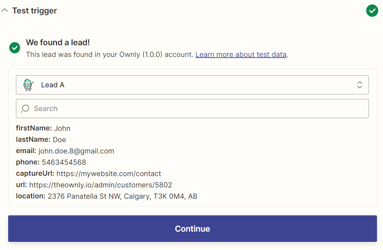
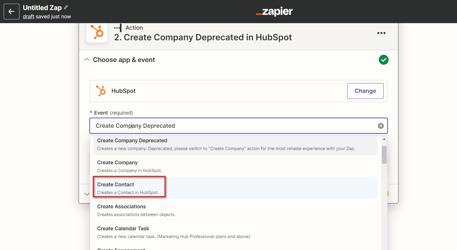
Select the action app you want to connect to Ownly in this case, it is HubSpot.
Choose the action you want the Zap to perform when the trigger event occurs. In this case it would be Create Contact
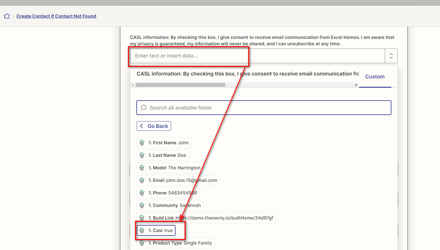
Once the Action is selected, search the appropriate fields and map the data as illustrated in the examples below.
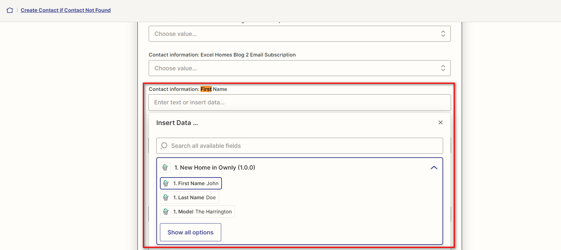
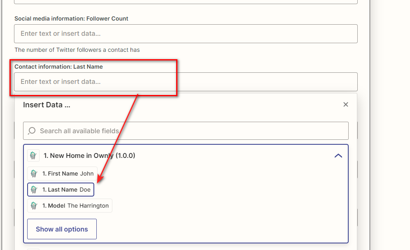
Once the mapping is done, test the action and turn on the Zap.
To doublecheck the integration, try to sign up again and then check if the contact synced properly to HubSpot and ensure that the fields are populated properly in HubSpot.
It's important to note that the integration process may vary depending on the specific version of HubSpot you're using, and Zapier is constantly updating the process, so it's best to check their website for detailed instructions and updates.